
You might find this combination, a bit odd. Idli with Sambar and/or Chutney is the usual combination you'll find in restaurants. But, in South Indian homes where Idli is a standard staple for breakfast, having Sambar and Chutneys every day becomes a bore. So, Once in a while, Kurmas made of Potatoes or Tomatoes or Cauliflower and peas are made to go with Idlis, to break the monotony. Sundays are special days where the whole family is present at the breakfast table. At these times, Sambars, Chutneys or Kurmas won't do. We need something more special than that. As long as I remember, when the whole family gathered around the breakfast table on Sunday mornings, my mother always served us 'Prawns curry' along with Idlis. A very few times, we've had Chicken curry too, to go along with Idlis, but it was made only when Prawns weren't available. Even now, Everytime I see Prawns (aka Shrimps), I remember our 'Sunday Morning Breakfasts' back home. When
Meenakshi posted the theme for this month's
From My Rasoi as '
Breakfast', I couldn't help making the breakfast dish that always made me feel at home, no matter which part of the world I was in.
My mother's recipe is very simple. I always follow it to the core, without altering even a tiny bit - Because I want to recapture those childhood moments, everytime I make this combo for breakfast.
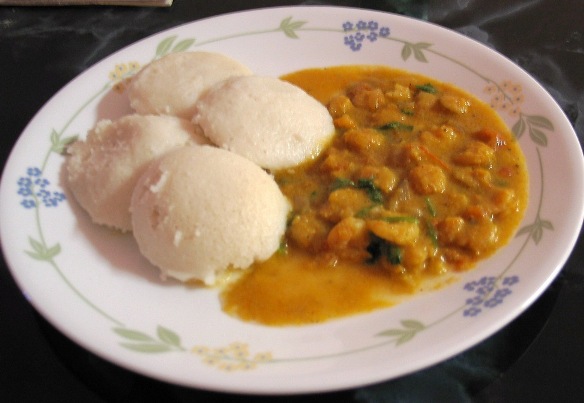
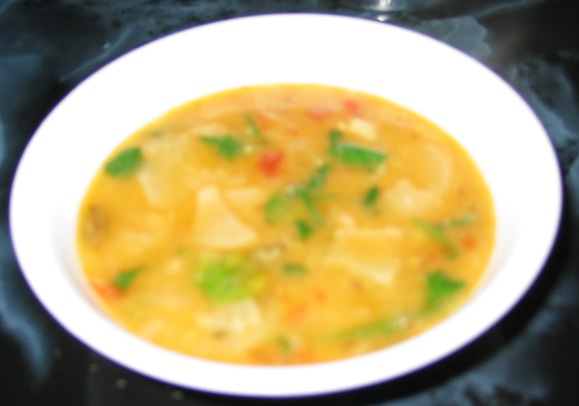
Idlis with Prawn curry
Prawns/Shrimps - 2 cups
Turmeric powder - 1/4 tsp
Chilli powder - 1 tsp
Lemon juice /White Vinegar - 2 tbsp
Salt to taste
Grated Coconut - 5 tbsp (Fresh coconut (1/2 cup, if used) makes a lot of difference, but frozen or dried one will do)
Ginger - 1 inch
Garlic - 3 cloves of garlic
Cinnamon - 2 small pieces
Greenchillies - 3
Onion -1, finely chopped
Tomatoes - 3, finely chopped
Fennel seeds - 1/4 tsp
Coriander leaves for garnish
Olive oil - 2 tsp
1. Marinate the prawns (shrimps) with turmeric powder, chilli powder, lemon juice/white vinegar and salt for about an hr. Frozen shrimps can be used too. Marinating for an hour helps to the shrimps to thaw and also absorb the flavors.
2. Grind the following together - coconut, ginger, garlic, cinnamon, clove and greenchillies to a fine paste, using some water.
3. Heat oil in a saucepan and add some fennel seeds. Add finely chopped onions and saute well till the onions turn slightly brown. Add the tomatoes and cook till the tomatoes are done. Add the prawns now and saute for some time. Add the ground paste from Step 2 and stir well. Add about 2 cups of water and cover the sauce pan and let it simmer.
4. Garnish with a few coriander leaves and serve hot with Idlis.
Making of the Idlis:
Making the idli batter isn't a easy thing. It is a pretty simple procedure but it is very easy to go wrong. The Idli just wouldnt rise if there's something wrong with the ratio of rice and dal, or the amount of water in the batter, or the warmth needed for fermentation or the mixing of the rice/dal batters. But, with some practice, you'll know if the batters are well mixed, if the ratio is right, if the batter has the right amount of water etc. The usual ratio is 4:1 (Rice:dal), but sometimes it can go upto 5:1 depending upon the carbohydrate density of the rice grain.
Ingredients
Idli Rice - 4 cups (Boiled/Parboiled Rice found in Indian shops are great for Idlis. You even get Idli Rice, in those shops. )
Urad Dal - 1 cup
Fenugreek seeds - 1/2 tsp
Salt - a fistful (Uh! Mine comes to about 1 tbsp)
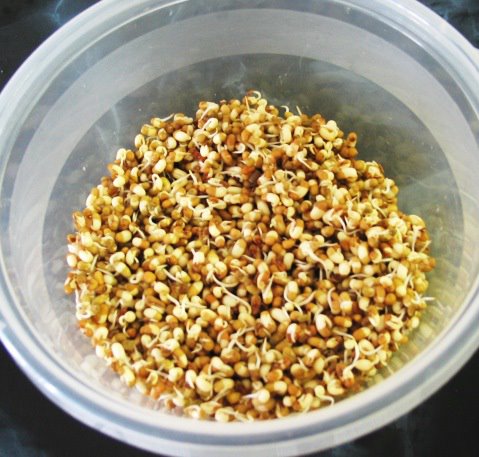
1. Wash and soak the Rice in water for 3 hrs. Wash and soak the Urad dal along with the Fenugreek seeds for about an hour.
2. Grind the dal first in the Grinder. Grinding the dal first and the rice next, helps in grinding the rice faster and easier, because of the lubrication provided by the little of the dal batter left in the grinder. Add water little by little, while grinding the dal batter. This will make the dal batter very fluffy. Remove this from the griner into a big container. Do not clean the grinder between grinding the dal and grinding the rice. It is ok if some dal batter is sticking to the grinder before grinding the rice. Oh yes, Do not cover this container. Else the fluffiness of the dal batter just goes away.
3. Grind the rice with some water and you can add the salt now, while grinding. The rice batter should be slightly coarse (less coarse than semolina) and should not have a very fine pasty texture.
4. Mix both the batters well using your hands (Clean hands, ofcourse) say for about 10 mins.
5. Preheat the oven to about 300 F for about 5 mins. Switch the oven off. Keep the Idli batter container inside the oven. The batter should be ready after 8 hrs.
6. After 8 hrs, Stir the batter slightly with a ladle in one direction (clockwise or anticlockwise)
7. Grease the idli mould with ghee/clarified butter and pour the idli batter in these idli moulds.
8. If you are using an Idlimaker, Steam for about 15 mins. If you are using a pressure cooker (without the whistle, ofcourse) to steam the idlis, wait till the steam is released through the vent and then steam for 10 mins
9. Serve piping hot!


